How to integrate Hangfire with Umbraco
2016 Jul 31Hangfire is a fantastic tool that I've found myself using more and more on every project I work.
If you haven't heard of Hangfire before, it allows you to perform background tasks inside ASP.NET applications. This "simple" thing opens a broad range of possibilities, for example, send emails or send data to a web service without the users having to wait for those operations to finish.
If you want to know more about it, check out their documentation which is great.
Now, let's see how to integrate Hangfire with Umbraco. For this post, I've used Umbraco 7.4.3 and Hangfire 1.6.1.
Assuming you already have an Umbraco installation ready, the first step to start using Hangfire is installing it and the easiest way to do that is through Nuget, just execute:
Install-Package Hangfire
Once you've done that, you need to configure a couple of things:
- Create a class that inherits from UmbracoDefaultOwinStartup and override its Configuration method with the following content:
using Owin;
using Umbraco.Web;
using Hangfire;

namespace UmbracoHangfireExample.App_Start
{
    public class Startup : UmbracoDefaultOwinStartup
    {

        public override void Configuration(IAppBuilder app)
        {
            base.Configuration(app);

            // Configure the database where Hangfire is going
            // to create its tables
            var cs = Umbraco.Core.ApplicationContext.Current
                .DatabaseContext.ConnectionString;
            GlobalConfiguration.Configuration
                .UseSqlServerStorage(cs);

            // Configure Hangfire's dashboard with the default options
            app.UseHangfireDashboard();

            // Create a default Hangfire server
            app.UseHangfireServer();
        }

    }
}
- On the appSettings section of the web.config, make the following changes:
<!-- Tell Umbraco to ignore the ~/hangfire path -->
<add key="umbracoReservedPaths" value="~/umbraco,~/install/,~/hangfire" />

<!-- Use our custom class as Startup -->
<add key="owin:appStartup" value="UmbracoHangfireExample.App_Start.Startup" />
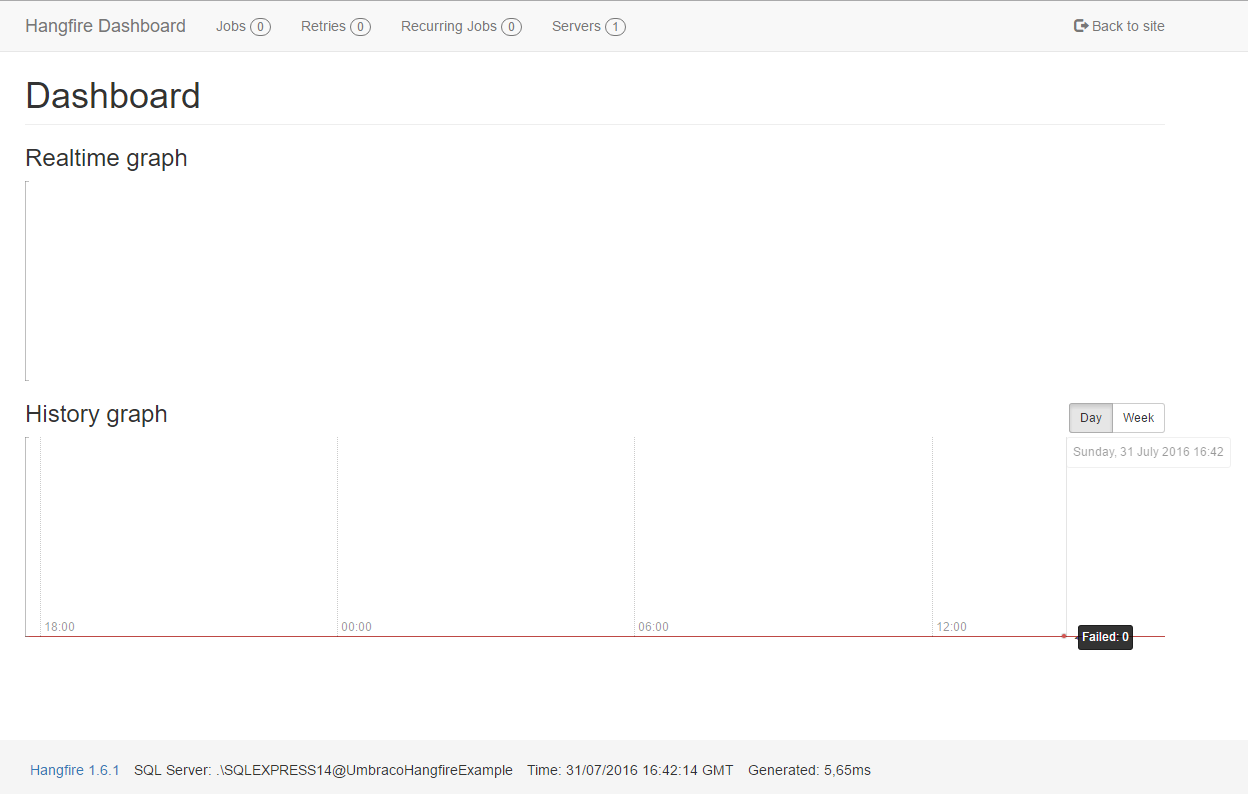
That's it. You can start using Hangfire now. Also, one of Hangfire's greatest features is its dashboard which you can start using immediately by running the website (F5) and navigating to ~/hangfire.

This is enough for a dev environment, but you need to configure authorisation for the dashboard to use it in production. The official docs on this topic are great to understand how it works and see some examples, but as we're seeing how to integrate Hangfire with Umbraco, I'll show you how to configure it to only allow backoffice users with Developer permissions.
The first step is creating the following authorisation filter:
using Hangfire.Dashboard;
using System;
using System.Linq;
using System.Web;
using Umbraco.Core;
using Umbraco.Core.Security;
using Hangfire.Annotations;

namespace UmbracoHangfireExample.Filters
{
    public class UmbracoUserAuthorizationFilter : IDashboardAuthorizationFilter
    {

        public bool Authorize([NotNull] DashboardContext context)
        {
            var auth = new HttpContextWrapper(HttpContext.Current).GetUmbracoAuthTicket();
            if (auth == null)
            {
                return false;
            }

            var backofficeUser = ApplicationContext.Current.Services.UserService.GetByUsername(auth.Name);
            var isAllowed = backofficeUser != null &&
                backofficeUser.AllowedSections.Any(x => x.Equals("developer", StringComparison.InvariantCultureIgnoreCase));
            return isAllowed;
        }

    }
}
Then you need to change the dashboard configuration in the Startup class to use the new filter:
var dashboardOptions = new DashboardOptions
{
    Authorization = new[]
    {
        new UmbracoUserAuthorizationFilter()
    }
};

app.UseHangfireDashboard("/hangfire", dashboardOptions)
Now you can only use the dashboard if you're signed in to Umbraco's backoffice and you've got access to the developer section.
The last configuration tweak is telling Hangfire where to redirect us when we try to go to the dashboard but we haven't signed in to Umbraco's backoffice yet. By default, Hangfire redirects us to /login.aspx?ReturnUrl=%2fhangfire and that gives us a 404 which is not very cool, it'd be better if we got redirected to ~/umbraco. To do that, make the following change on the web.config inside the system.web section.
<authentication mode="Forms">
  <forms name=".ASPXAUTH" loginUrl="~/umbraco" protection="All" path="/" />
</authentication>
That's all. I hope you've found this useful. I've uploaded the code to Github so that you can play with it: https://github.com/camaya/umbraco-hangfire-example
Before you go: I don't have a comments system on this blog, but I'd love to hear your thoughts so feel free to reach me on Twitter @_camaya.
Cheers.